


D5300
Camera Functions
Wi-Fi (Wireless Networks)
Installing the dedicated Wireless Mobile Utility app on your smart device lets you view the camera display on the smart device and control the camera remotely via a wireless network connection. You can also download photos to the smart device for sharing via the Internet.
Camera Functions
01. Before connecting via Wi-Fi (wireless LAN), install the Wireless Mobile Utility on your smart device.
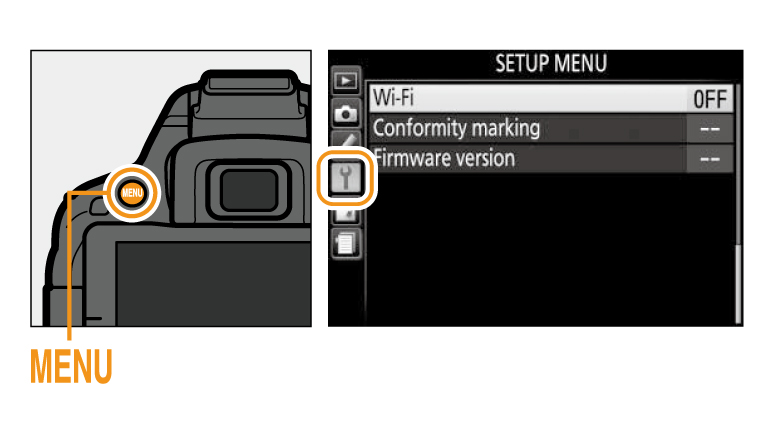
02. Enable the camera’s built-in Wi-Fi.
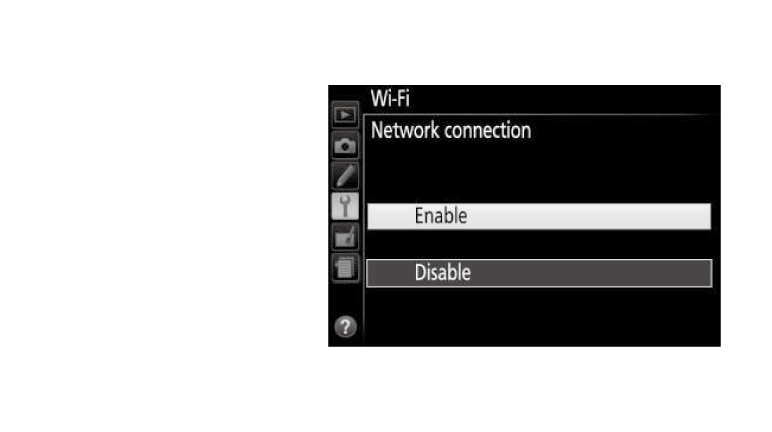
Press the MENU button to display the menus, then highlight Wi-Fi in the setup menu and press the multi selector right. Highlight Network connection and press the multi selector right, then highlight Enable and press OK. Wait a few seconds for Wi-Fi to activate.
Press the MENU button to display the menus, then highlight Wi-Fi in the setup menu and press the multi selector right. Highlight Network connection and press the multi selector right, then highlight Enable and press OK. Wait a few seconds for Wi-Fi to activate.
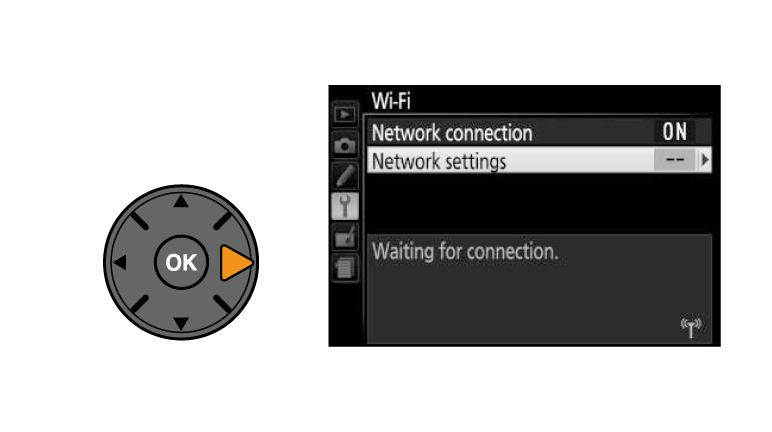
03. Highlight Network settings and press the multi selector right.
WPS (Android Only)
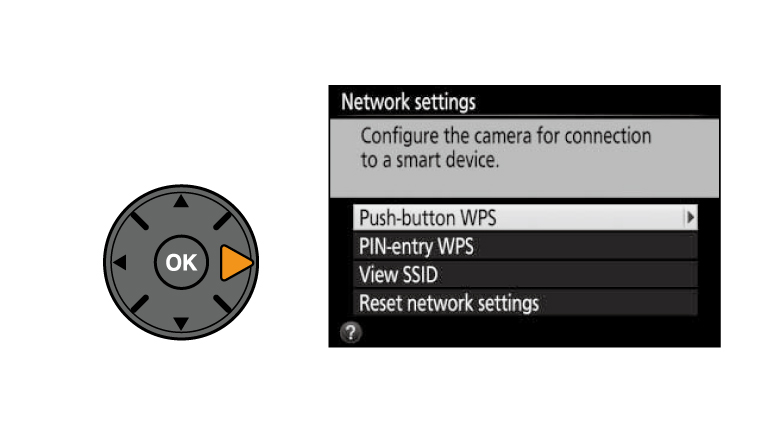
04. Enable WPS button connections on the camera and smart device:
Camera: Highlight Push-button WPS and press the multi selector right to ready the camera for a WPS connection. The camera will wait about two minutes for a WPS connection request from the smart device. To extend the wait time, press OK.
Smart device: Select Wi-Fi settings > WPS button connection.
PIN Entry (Android Only)
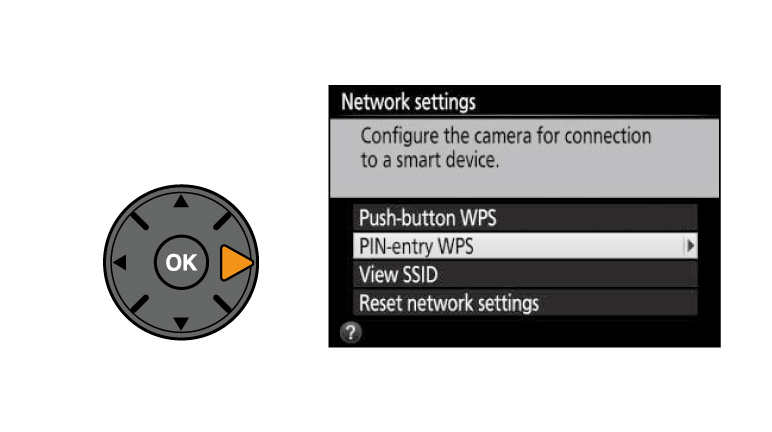
04. Highlight PIN-entry WPS and press the multi selector right.
Enter the PIN displayed by the smart device. Press the multi selector right or left to highlight digits and press up or down to change. Press OK when entry is complete.
04. Highlight PIN-entry WPS and press the multi selector right.
Enter the PIN displayed by the smart device. Press the multi selector right or left to highlight digits and press up or down to change. Press OK when entry is complete.
SSID (Android and iOS)
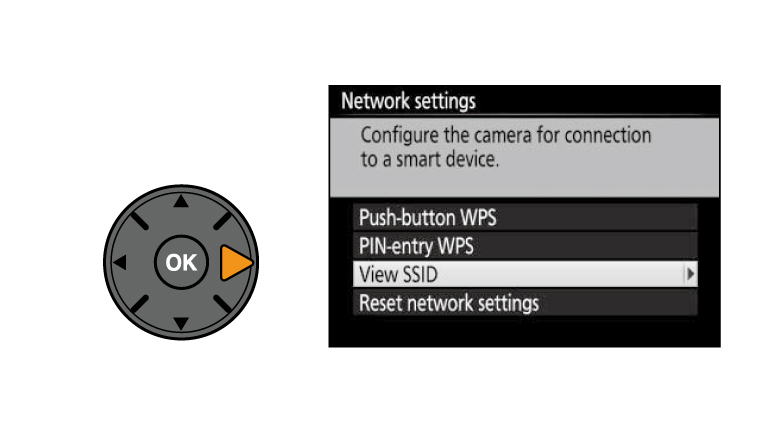
04. Highlight View SSID and press the multi selector right.
Select the camera SSID in the list of networks displayed by the smart device.
04. Highlight View SSID and press the multi selector right.
Select the camera SSID in the list of networks displayed by the smart device.
05. Launch the Wireless Mobile Utility on the smart device.
The main dialog will be displayed.
The main dialog will be displayed.
Restoring Default Settings:
To restore default network settings, select Wi-Fi > Network settings > Reset network settings. A confirmation dialog will be displayed; highlight Yes and press OK to restore default network settings.
To restore default network settings, select Wi-Fi > Network settings > Reset network settings. A confirmation dialog will be displayed; highlight Yes and press OK to restore default network settings.
More D5300 Tips and Tricks


